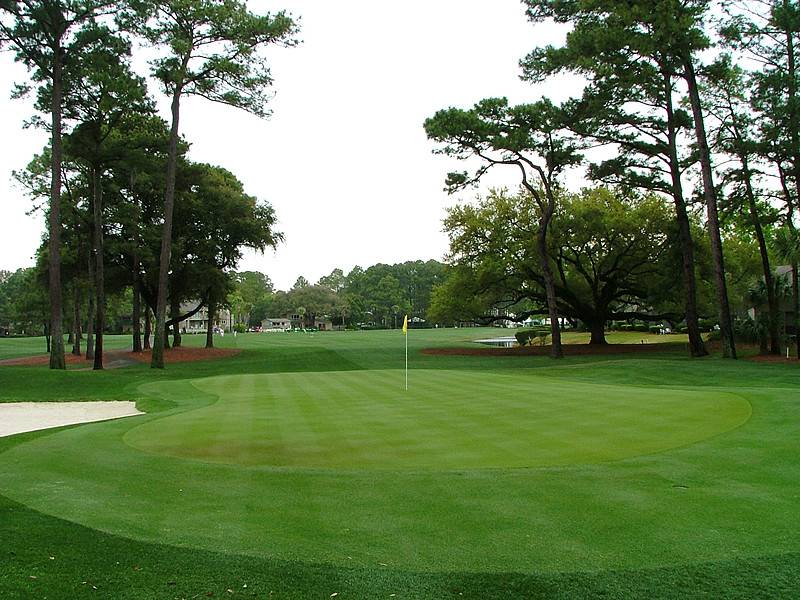
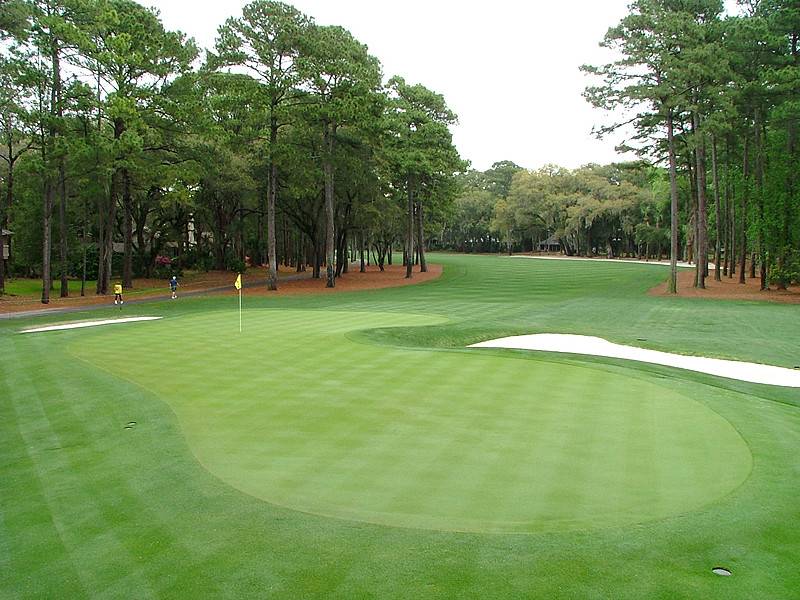
Hole 10 • Par 4 — Behind-green view back to the second-shot area and Harbour Town’s subtle putting surface.
Hole 11 • Par 4 — Left-side fairway angle into the 436-yard 11th with overhanging oaks framing the second shot.
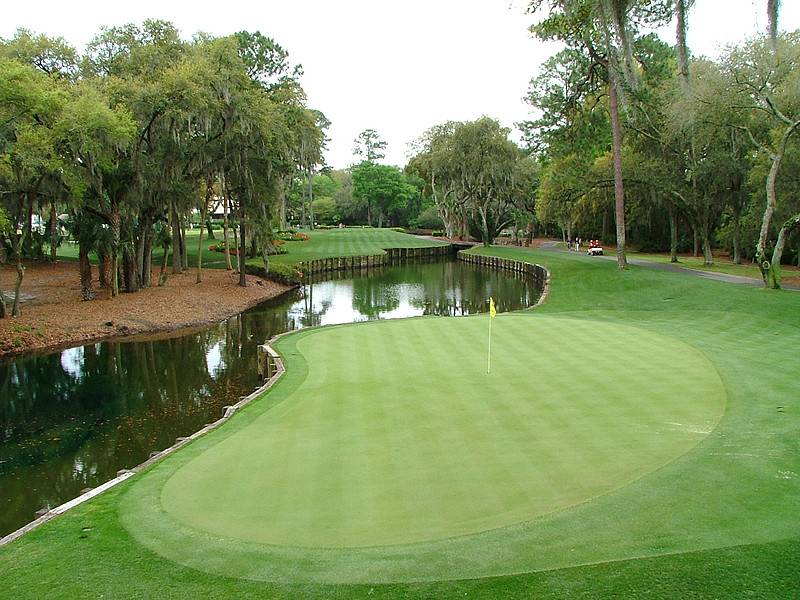
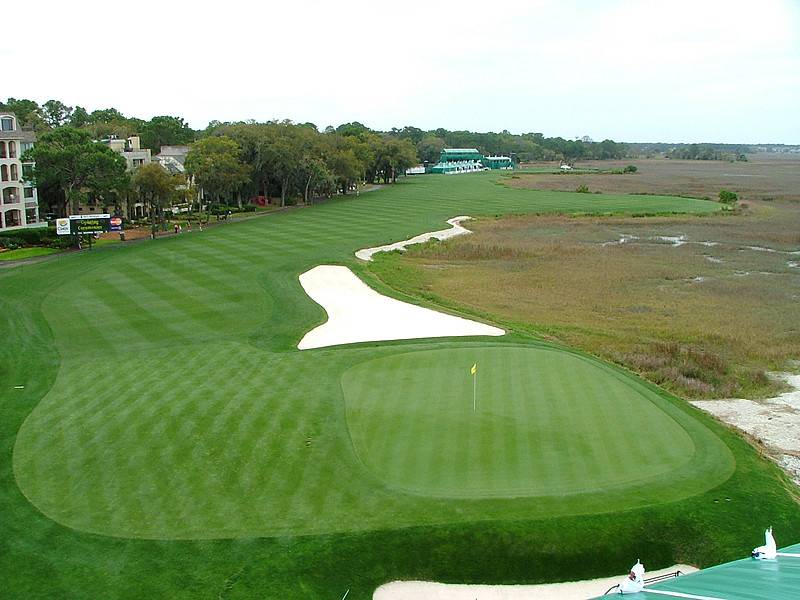
Hole 11 • Green — Behind-green look back to the fairway, showing the subtle slope of Harbour Town’s Pete Dye greens.
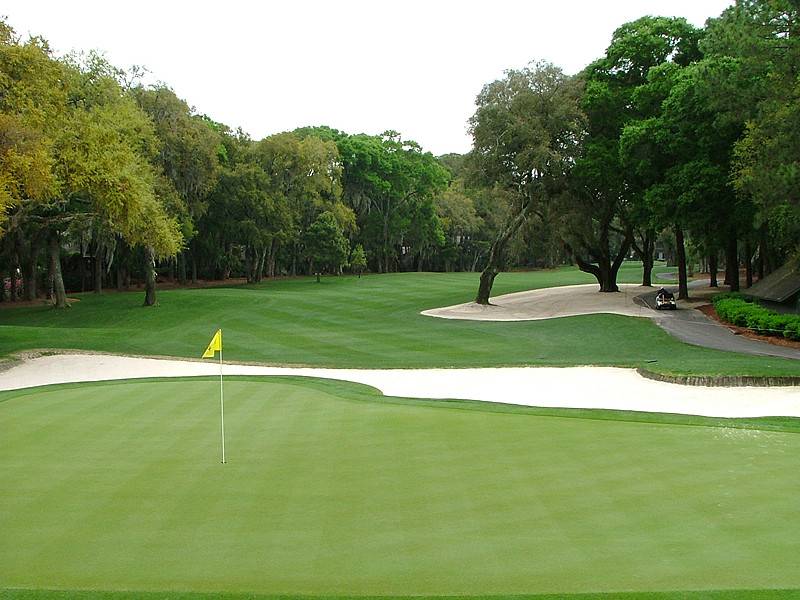
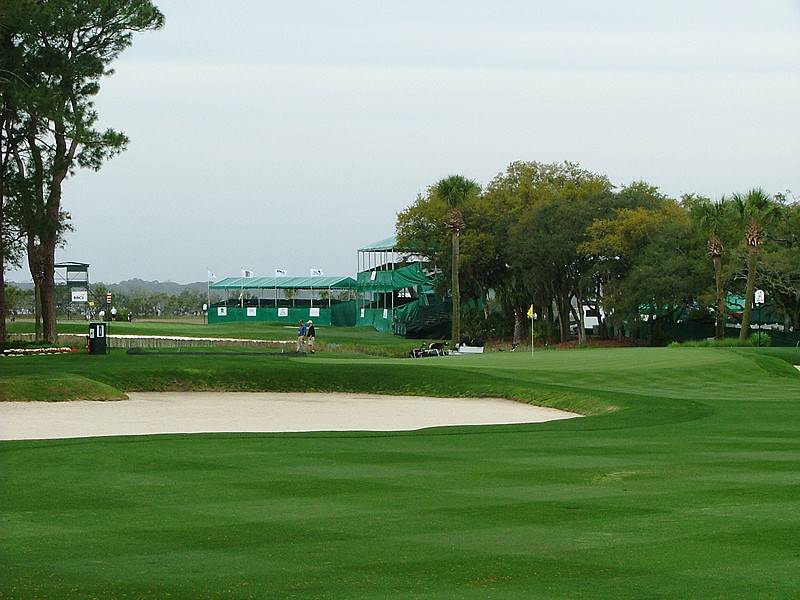
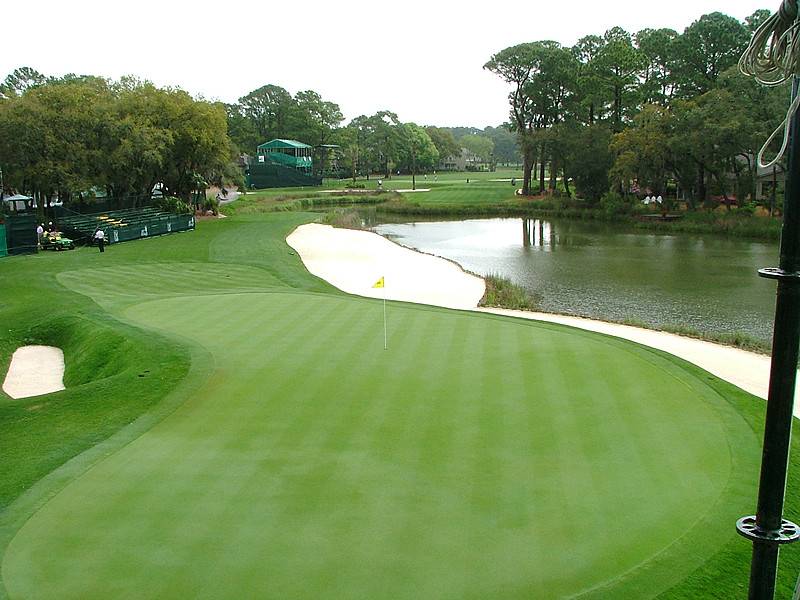
Hole 12 • Par 4 Entry — Zoomed second-shot view into the 430-yard 12th green.
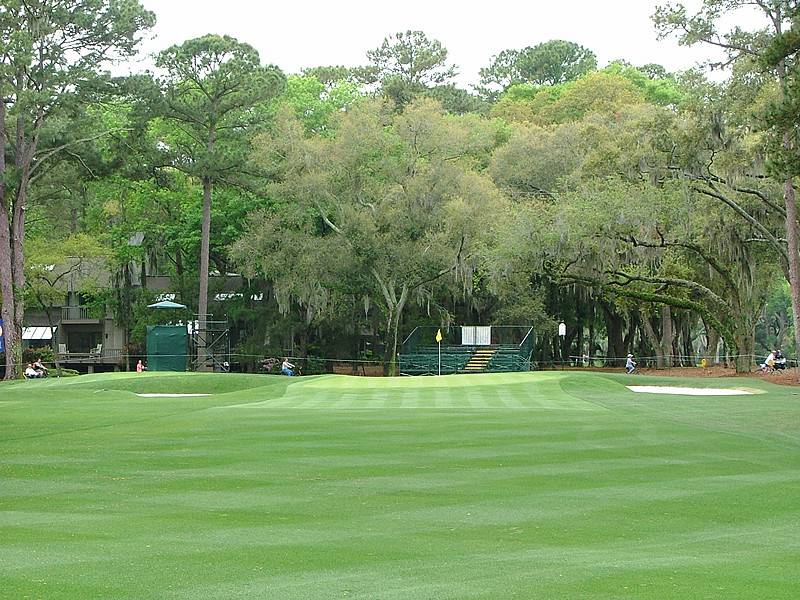
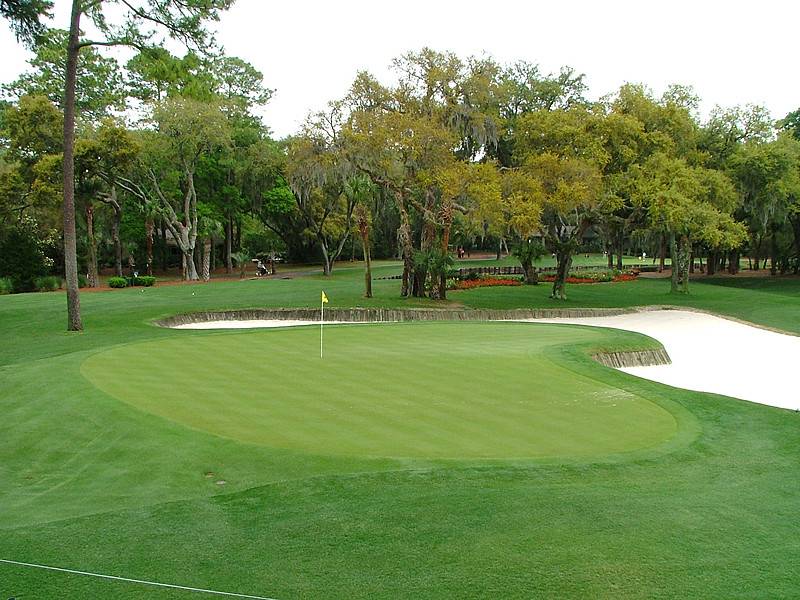
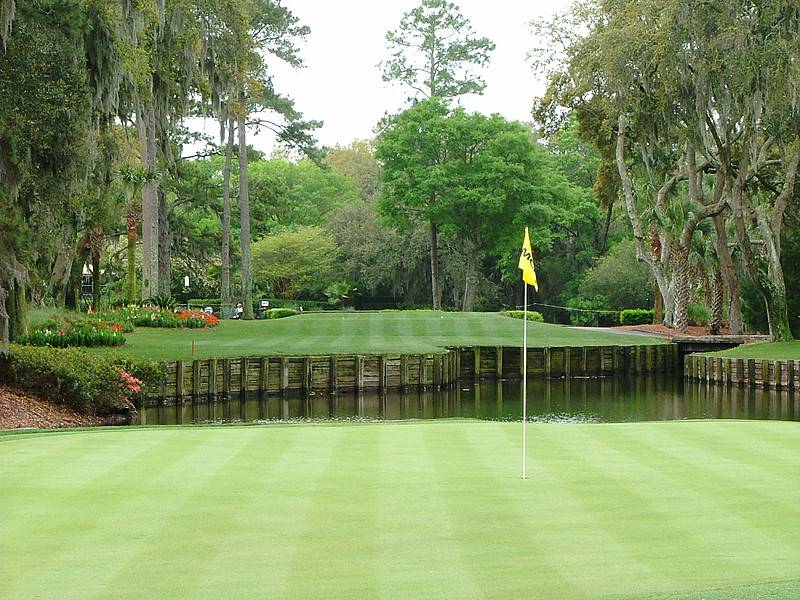
Hole 12 • Green — Behind-green look at a 40-yard-deep target with a demanding back-left pin area.
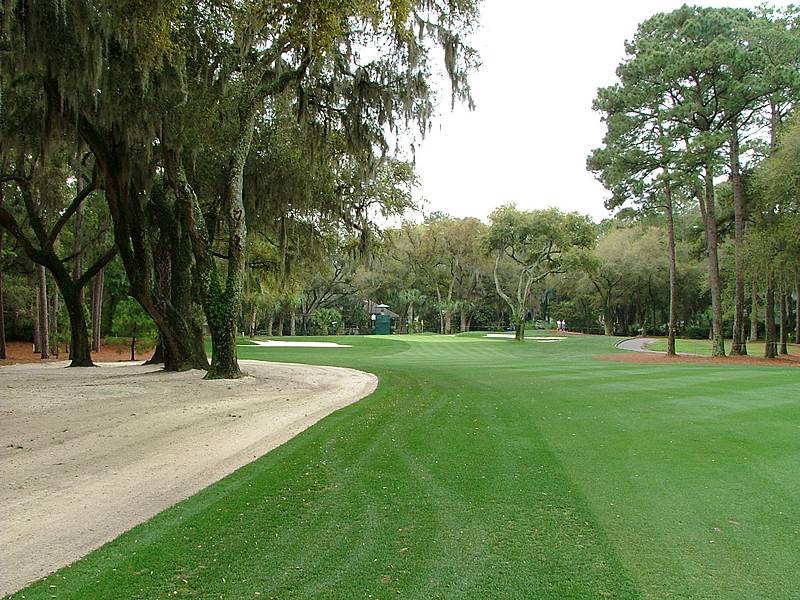
Hole 13 • Par 4 — The 373-yard 13th shows Harbour Town’s tree-lined dilemma and the need for the proper fairway side.
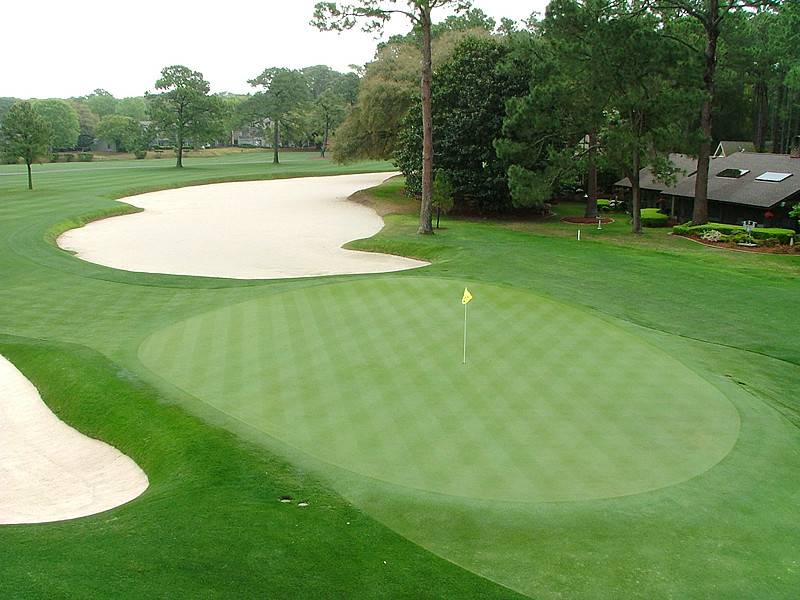
Hole 13 • Green — Above-and-behind view back to the 13th landing zone.
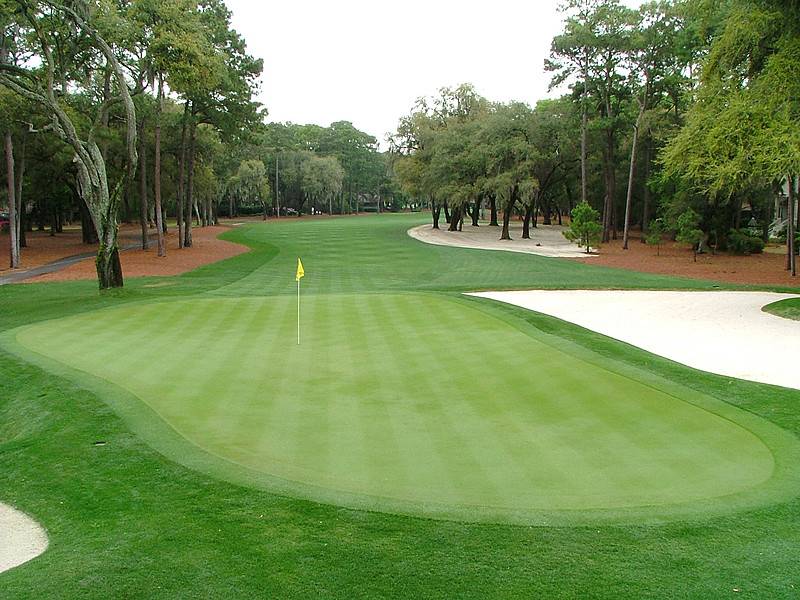
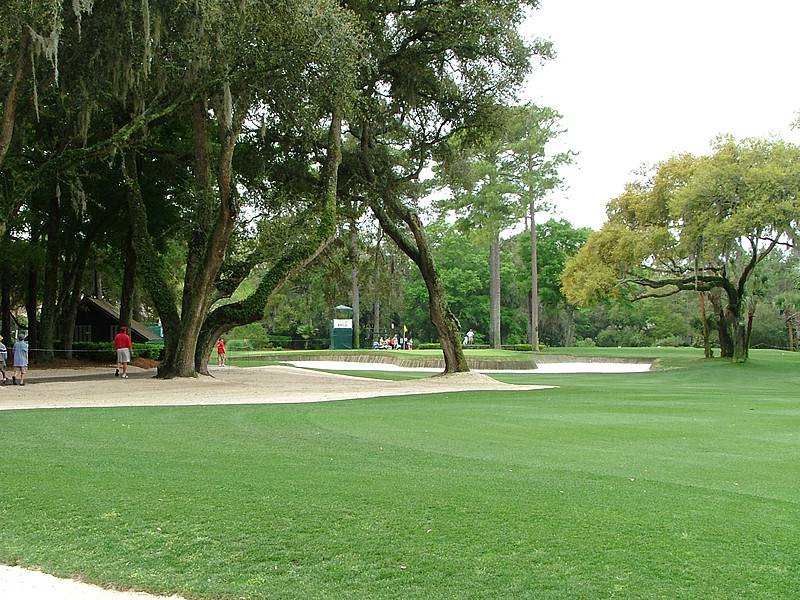
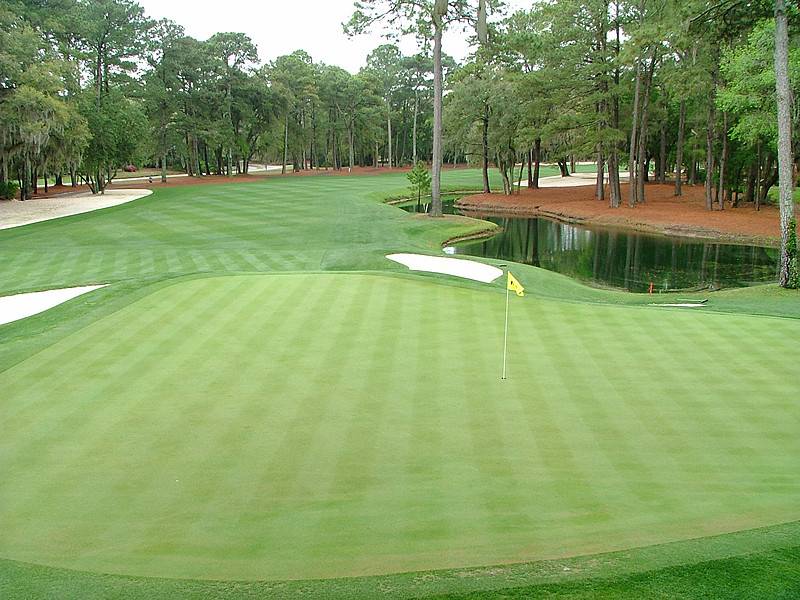
Hole 13 • Green Side — Left-side look at the tied bunkering and corner-pin demands.
Hole 14 • Par 3 — Zoomed view of the 192-yard peninsula-style target framed by ties and backwater.
Hole 14 • Green Above — Above-and-behind view back toward the 14th tee.
Hole 14 • Green Behind — A scenic look from behind the 14th green.
Hole 15 • Par 5 — Behind-green view back to the third-shot area and the collection ponds around the target.
Hole 16 • Par 4 — Left-side waste bunker runs all the way to the front of the short 16th green.
Hole 16 • Green — Behind-green look at Harbour Town’s subtle, quick 16th surface.
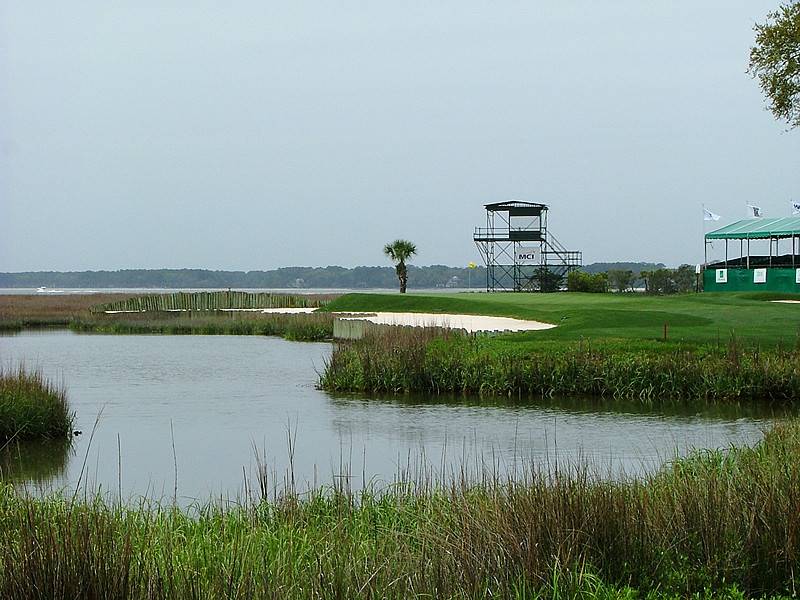
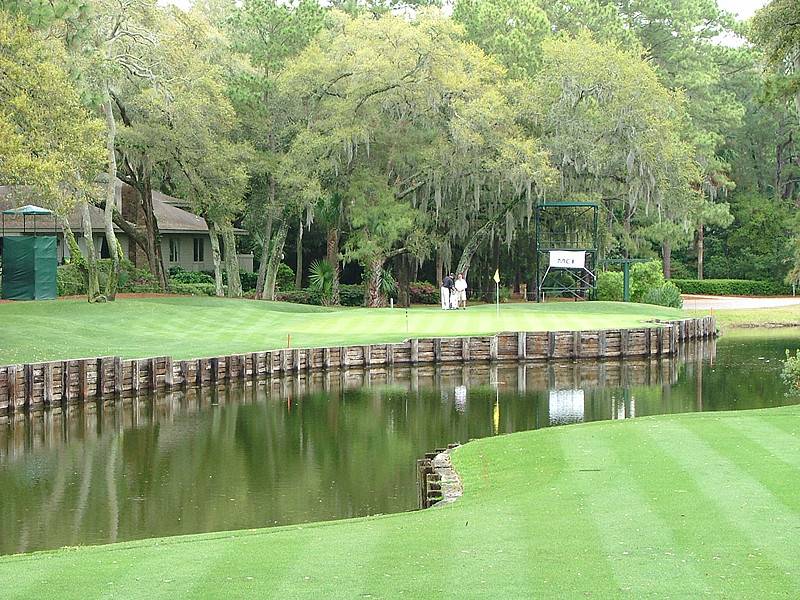
Hole 17 • Par 3 — Marsh, ties, and Calibogue Sound frame this exposed 185-yard par three.
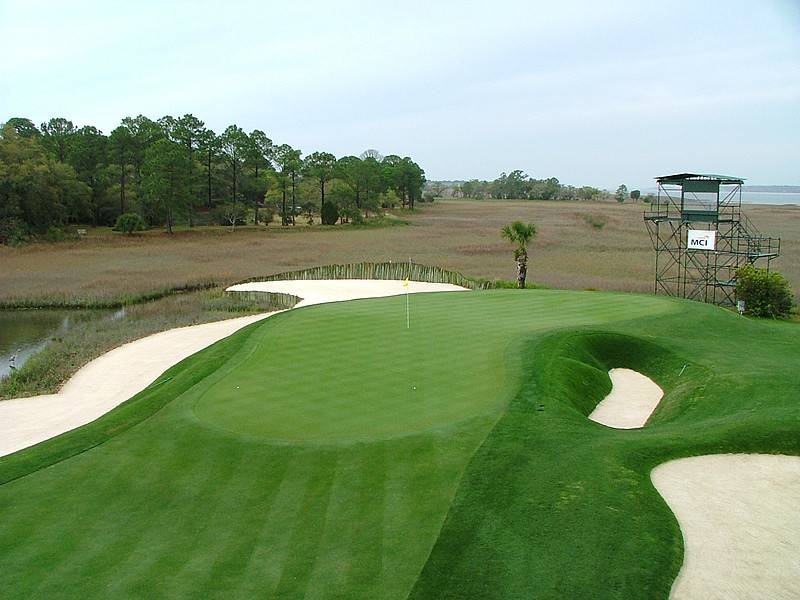
Hole 17 • Green Right — Above-right view of one of Harbour Town’s most distinctive green settings.
Hole 17 • Green Behind — Above-and-behind view back toward the tee.
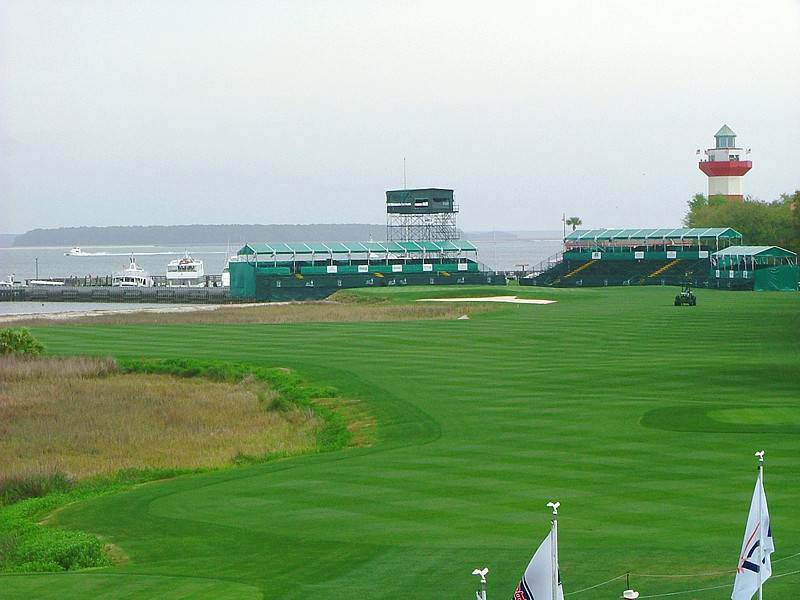
Hole 18 • Par 4 — Tee-shot view of Harbour Town’s demanding 452-yard finisher with marsh carry and frequent wind.
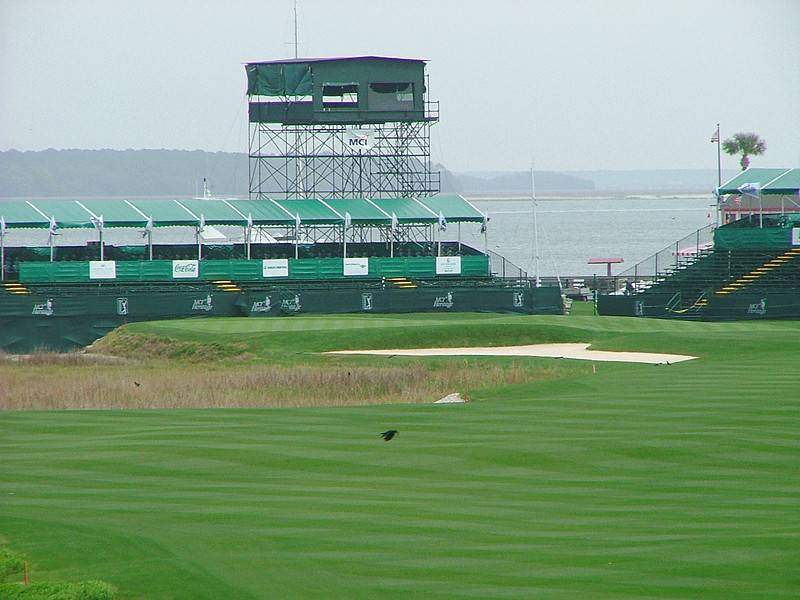
Hole 18 • Second View — Zoomed look into the green from the second-shot landing area.
Hole 18 • Second Shot — Left-side fairway angle into the green, less ideal than the middle or right.
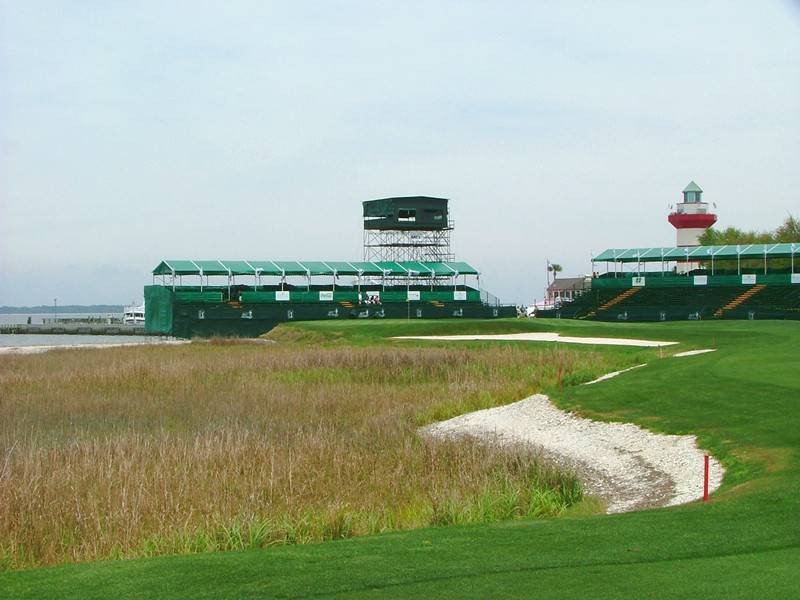
Hole 18 • Green Above — Above-and-behind view of the exposed finishing green with bailout room only to the right.